Create a Project
Connect a GitHub repo to Bruin Cloud, create your first project, and add the connections it needs.
Video walkthrough
What this does
A project in Bruin Cloud has a one-to-one relationship with a Git repo. Creating a project connects your repo, syncs its pipelines, and gives you a place to manage connections to data sources, destinations, and secrets.
You can do this during onboarding, or any time afterwards from the home page.
Steps
1) Start a new project
If you skipped adding a project during onboarding and there are no projects set up yet, click the Create project button on the home page. Otherwise, open Team settings and go to the Projects section.
2) Connect GitHub
Connect your GitHub account using either:
- A personal access token, or
- The Bruin GitHub App.
3) Select a repo
Once GitHub is connected, pick the repo you want to set up as a new project. Each project maps to exactly one repo.
4) Name the project
Rename the project, or leave it matching the repo name. Click Create project.
5) Wait for the sync
Bruin Cloud syncs the pipelines in your repo. This can take a few minutes. You can keep working while it runs.
6) Add connections
While the project is syncing, open Connections and add the data sources, destinations, and secrets your pipelines need:
- Databases, warehouses, and data lakes - the same destinations you'd configure locally.
- Generic secrets - API keys, tokens, and other text-based credentials.
These are the same connections you'd define locally in your .bruin.yml file. That file is gitignored and never reaches the repo - connections live in Bruin Cloud instead, where they're encrypted and stored using HashiCorp Vault as the secrets backend.
Next
With the project synced and connections in place, head to Enable a Pipeline to trigger your first run.
More tutorials
Enable a Pipeline
Enable a pipeline in Bruin Cloud, add any missing connections, and trigger the first run.
Manage Connections
Configure connections in Bruin Cloud so your pipelines can reach data sources, destinations, and other external systems.
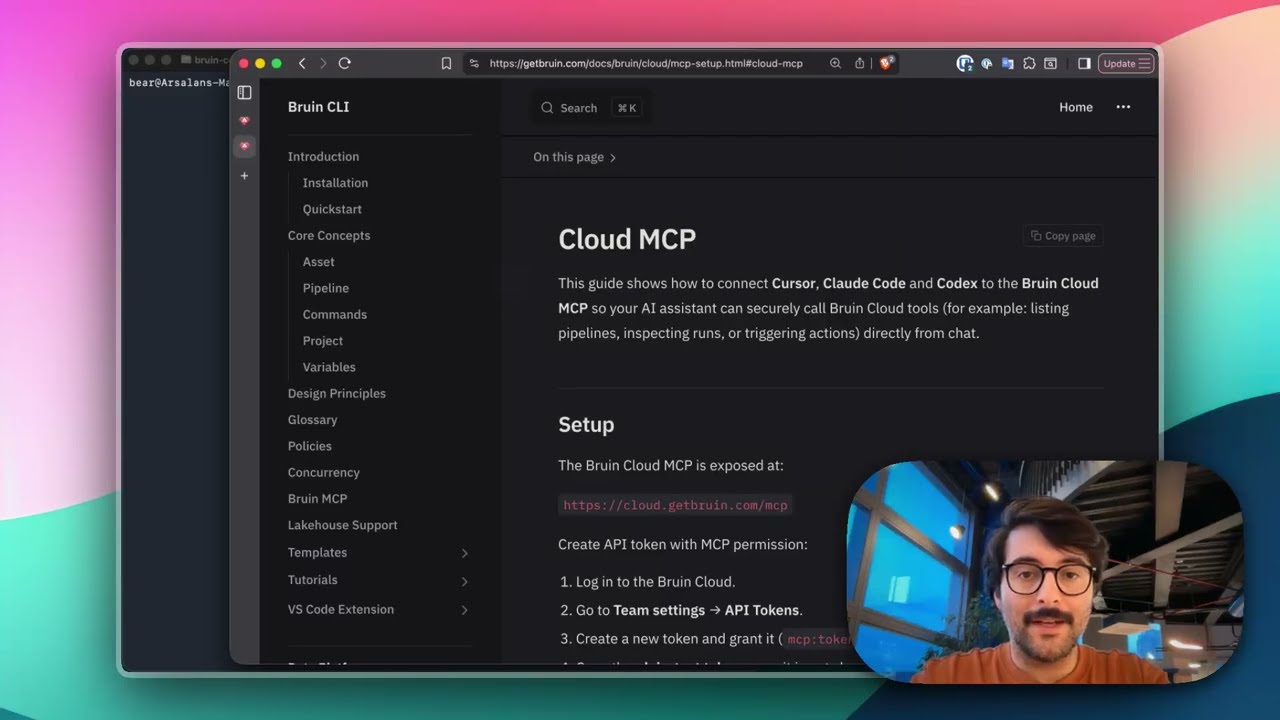
Connect Bruin Cloud MCP to Claude Code
Set up the Bruin Cloud MCP so your AI agent can query pipelines, inspect runs, and trigger actions in Bruin Cloud directly from your terminal.