Navigate Your Run History
Use the Bruin VS Code extension to browse past runs, see which assets succeeded or failed, copy commands, and re-run previous executions.
What
Goal - Use the run history panel in the Bruin VS Code extension to review past runs, debug failures, and re-execute previous commands.
Audience - Anyone using the Bruin VS Code/Cursor extension who wants to track and manage their pipeline runs.
Prerequisites
- Bruin CLI installed
- The Bruin VS Code or Cursor extension installed
- At least one pipeline with previous runs
More guides

Chat with an AI Agent
Use Bruin Cloud's chat to ask an AI agent about your data, generate reports, and run Bruin Cloud CLI tasks like pipeline status and history.

Configure AI Agents
Create and configure AI agents in Bruin Cloud - pick a project, add messaging integrations, attach a connection set, and set permissions.
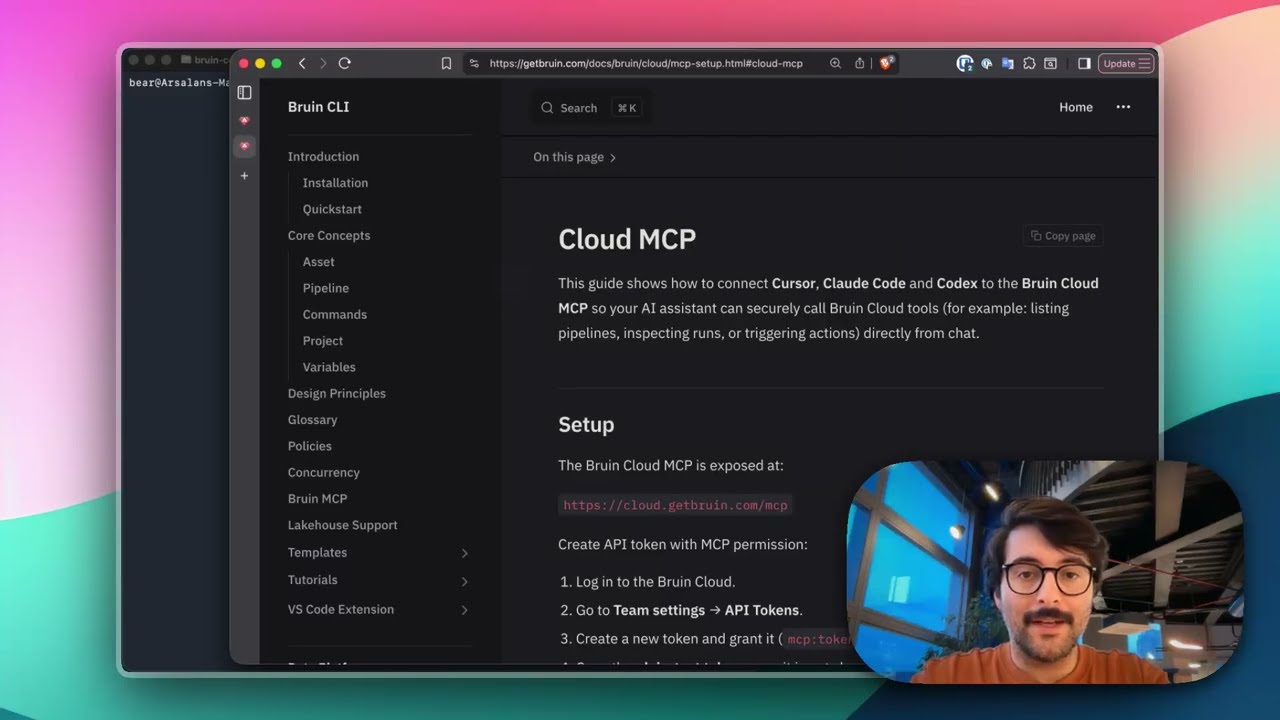
Connect Bruin Cloud MCP to Claude Code
Set up the Bruin Cloud MCP so your AI agent can query pipelines, inspect runs, and trigger actions in Bruin Cloud directly from your terminal.