Enable a Pipeline
Enable a pipeline in Bruin Cloud, add any missing connections, and trigger the first run.
Video walkthrough
What this does
Pipelines synced from a repo start disabled. Enabling one tells Bruin Cloud to run it on schedule. If connections are missing, you'll be prompted to add them inline.
Steps
1) Open your pipelines
From the homepage, go to Catalog → Pipelines.
2) Select and enable
Pick a pipeline and click Enable selected pipelines.
3) Add missing connections
If the pipeline references connections you haven't configured, Bruin Cloud lists them. For each one:
- Click the missing connection - the name is filled in for you.
- Pick the connection type - a built-in (BigQuery, Postgres, Snowflake, etc.) or a generic secret.
- Enter the credentials.
- Click Create. Bruin Cloud validates the connection. To skip validation, click Create without validation.
Repeat until the list is empty.
4) First run
The first run triggers automatically when a new pipeline is enabled - no need to click New run.
5) Check it's running
Open the pipeline page and confirm:
- Status is active.
- A new run appears in the runs list.
Next
To explore everything else on the pipeline page - backfills, lineage, manual runs - see Pipelines Overview.
More tutorials
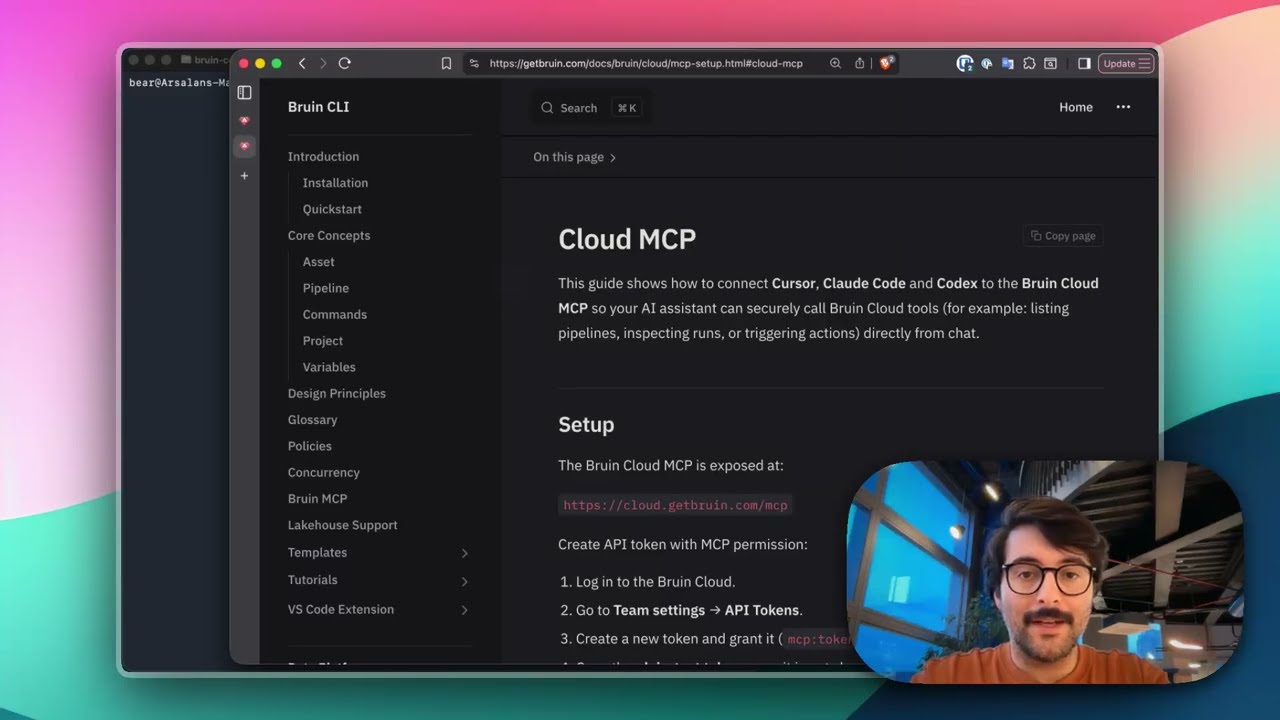
Connect Bruin Cloud MCP to Claude Code
Set up the Bruin Cloud MCP so your AI agent can query pipelines, inspect runs, and trigger actions in Bruin Cloud directly from your terminal.

Pipelines Overview
A walkthrough of the Bruin Cloud pipeline page: runs, assets, backfills, lineage, connections, and manual runs.
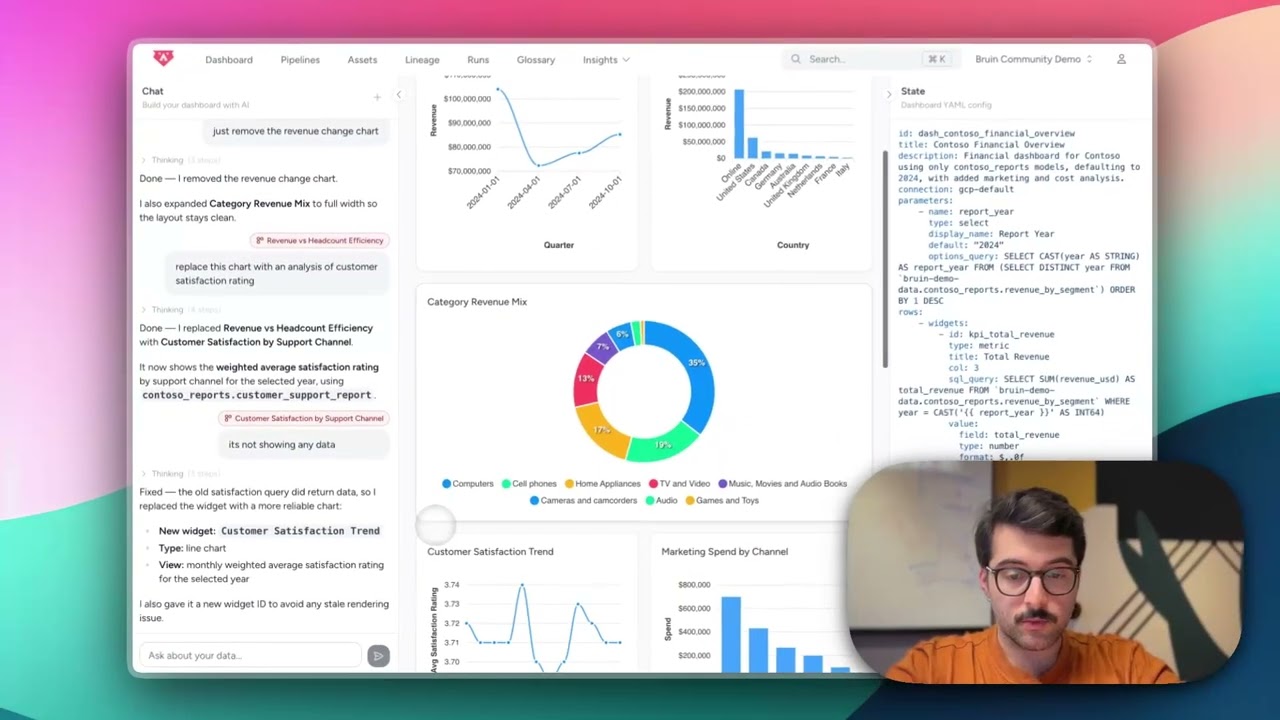
Build Dashboards with an AI Agent
Use the Bruin Cloud AI agent to build interactive dashboards from natural language prompts - generate queries, create charts, and ask follow-up questions in one place.